
Welcome to Django Tutorial for beginners part 9. In this tutorial, we are going to build sign-in forms and learn how user authorization in Django works. A user can sign in while setting permission for the user to log in. So we will create a new HTML, view, and URLs for sign in.
We learned how to create and signup forms with built-in Django usercreationfrom class. Let’s create a sign-in form for users to log in.
Creating a signin view and an HTML file
For this purpose, Django gives uses ready-to-use AuthenticationForm. Let’s open urls.py add a signin URL.
path('signin/',signin,name="signin")Signin form
Then let’s head over to views.py to create a signin form.
def signin(request):
    if request.method == "POST":
        form = AuthenticationForm(data=request.POST)
        if form.is_valid():
        return redirect('home')
    else:
        form = AuthenticationForm()
    return render(request,'signin.html', {"form":form})
Obviously, we don’t have signin.html. Let’s go create and signin.html in the templates directory.
touch signin.html
Let’s head over to signin.html to output the login form.
<!DOCTYPE html>
<html>
<body>
<head>
</head>
<h1>Sign in</h1>
<form class="site-form" actin='' method="POST">
{% csrf_token %}
{{ form }}
<input type="submit" name="submit" value="Signin"/>
</form >
</body>
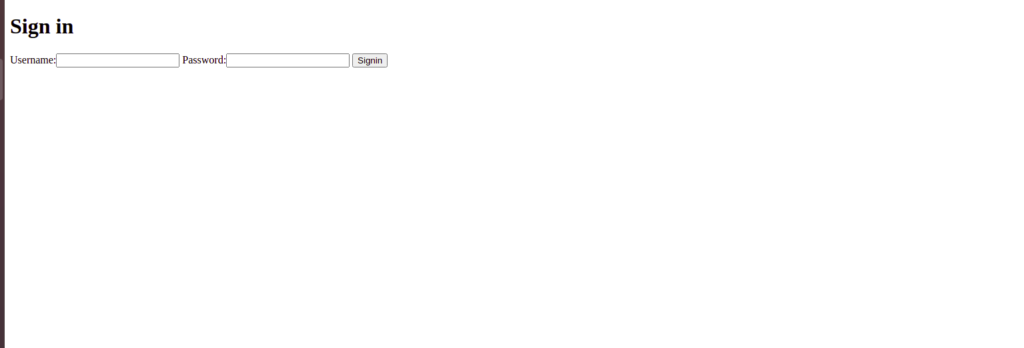
</html>And if you check this address http://127.0.0.1:8000/signin/ you should see this:
By logging in, you will be directed to the home page and it’s different from the actual login into the application. In order to login into our application, we need to tell Django explicitly to log us in. If the user clicks on the login button it will be logged in. It is very simple and can be done by adding an instance of the user class and login function.
First, we need to import the login function at the top in views.py:
from django.contrib.auth import authenticate, login
Then let’s create a view to return signin form to the user.
def signin(request):
    if request.method == "POST":
        form = AuthenticationForm(data=request.POST)
        if form.is_valid():
            #log in user
            user = form.get_user()
            login(request,user)
        return redirect('home')
    else:
        form = AuthenticationForm()
    return render(request,'signin.html', {"form":form})
Keep in mind that the name of the signin function should not be login when you import this login package because it confuses Django. It’s important to use another name for example in our case it’s “siginin”.
OK, what we have done here?
We want to know who’s trying to log in by creating a variable and setting it user: user = form.get_user() . When we use the authentication form like that: form=AuthenticationForm(data=request.POST)
We are able to get the user from the form that we stored in. In fact, that is going to retrieve the user that trying to log in. This is built into Django and comes with the form.
Now that we got that user let’s log it in by login(request, user).
Login is a built-in function in Django and takes a few parameters. The first one is a request and the second one is the user we trying to log in to. As we mentioned it is very simple, first retrieve the user that we trying to log in, and second log the user in using the login function.
This is how we log the user into the application. I hope you find it useful. see you in the next tutorial 🙂