
Welcome to Django Tutorial for beginners, part 8. In this tutorial, we are going to build a sign-up form and learn how user authentication in Django works. A user can sign up, and We will set a permission for the user to log in. For almost every project in the future, you will need a sign-up section. So we will create a new HTML, view, and URLs for signup.
Overview
Django has a built-in user authentication system that handles both authentication and authorization. By authentication we mean Django verifies a user is who they claim to be, and by authorization, Django determines what an authenticated user is allowed to do. Here the term authentication is used to refer to both tasks. By default, the required configuration is already included in the settings.py
Sign up form
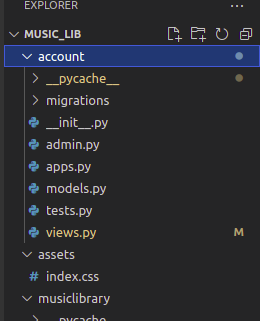
We want to create a separate page both for sign up and sign in, sign in will be discussed in the next tutorial. First of all, let’s create a new app and name it an account. The reason why we do this is, it makes it easy for us in the future to manage our project’s users and subjects related to user sign up in sign in.
python manage.py startapp account
Open this Url.py in the main app and let’s add sign-up URL and view. we call the signup and view signup then return an empty HTML. we have not created this view yet but we will do it in seconds.
path('signup/',signup),Then over to this views, first of all, import these packages.
from django.shortcuts import render, redirect, reverse
from django.contrib.auth import login, authenticate
from django.contrib.auth.forms import UserCreationForm
from django.contrib.auth.decorators import login_required
Let’s create the function called signup in views.py and HTML file in Templates directory. Open views.py:
def signup(request):
    return render(request,'signup.html')
Then head over to the templates directory and let’s create a new HTML file and name it signup.html:
touch signup.html
So if we check this http://127.0.0.1:8000/signup/ address you can see it is an empty page for now.
Creating signup form
We are going to show users a form to sign up for the website. If we want to create a signup from scratch and handle all the authentication, it takes time and is unnecessary. Django shipped with user authentication that we can use and helps us out and one of those things is usercreation form.
One of the advantages of this form Django provides comes with frontend code so there is no need to write frontend code and also includes validation that checks username already exists or not.
def signup(request):
    if request.method == 'POST':
        form = UserCreationForm(request.POST)
        if form.is_valid():
            form.save()
            return redirect('home')

    else:
        form = UserCreationForm()

    return render(request, 'signup.html', {'form': form})
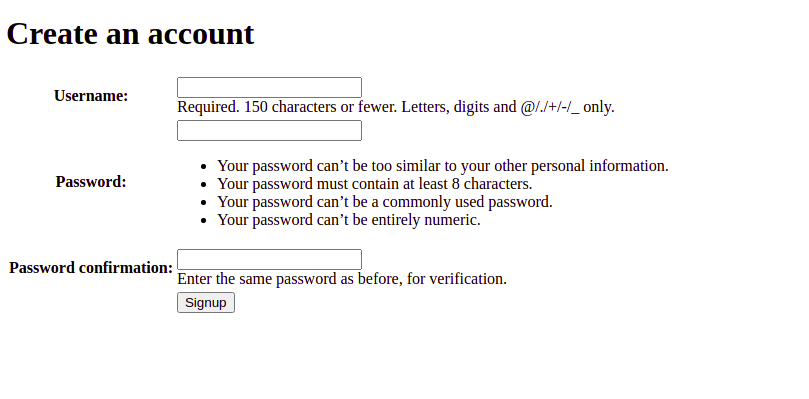
Then let’s open the signup template and output the form. Instead of hard coding all the different inputs ourselves, we can use a form tag. also don’t forget to add the name as a third parameter to the home URL in urls.py as follows otherwise you will get an error.
This means after the user signed up, it will redirect you to the home page.
path('', views.home,name="home"),If you go to 127.0.0.1:8000/signup/ finger crossed you should see this page:
What does this post method mean?
There are several requests and the 2 most common are GET and POST. If you want to send data to the server or backend, you need to use the POST method, and the GET request is used to receive data from the server. For example, when you type a URL in the address bar, it is a GET request because you request to get an HTML file from the server. But when we use POST requests you want to add some records to the server.
Keep in mind that the GET and POST request both can go to the same URL so we can send get request to
/signup to receive an HTML file from the server, and also send a POST request from the same page to post data i.e signup information like password and username. These requests both fire the signup view function.
Action is the URL we want to request to./signup which fires the sign-up function. This is the URL you want to submit the data to.
So on the server, this function will receive that data, and we detect if this is a POST request…
If this is a GET request….
We can react differently depending on the method. In practice these days it’s more unlikely to use this user creation form, but in general, while learning Django, it’s nice to get familiar with it.
In our case, we have just redirected the user after the signup. But in almost every case we want to log in the user into the application instead of redirecting. For this purpose, we need to add a login function and store f.save() into a variable, and pass this variable to the login function in the signup view. open views.py:
def signup(request):
    if request.method == 'POST':
        form = UserCreationForm(request.POST)
        if form.is_valid():
            user = form.save()
            login(request,user)
            return redirect('home')
    else:
        form = UserCreationForm()
    return render(request, 'signup.html', {'form': form})
So if the form is valid the form would be saved in a variable(in our case user) and then we pass this user to the login function in the next line.
This is how we create a user creation form in Django. I hope you find it useful. see you in the next tutorial 🙂