Hello chicos! In this article, I’ll guide you on how to build your own free version of Chat GPT using Ollama and Open WebUI, right on your own computer. This setup not only works with local models but also with the OpenAI API, and it’s all open source, allowing you to run any large open-source model privately. You don’t need a super powerful computer to get started, but having more RAM and a stronger CPU will definitely improve performance.
A simple overview of Openweb Ui
The Open WebUI, called Ollama, has a chat interface that’s really easy to use and works great on both computers and phones. It’s quick to set up with tools like Docker. The interface lets you highlight code and fully supports Markdown and LaTeX, which are ways to format text and math content. It also uses something called Retrieval Augmented Generation (RAG) to pull in content from different places as you chat. You can talk to multiple chat models and even use voice and image inputs to make interactions more engaging. It has handy commands to help you manage your chats, view past conversations, and tweak how the chat models respond. You can also manage chat models directly through the web UI. Plus, it has solid security features like managing different user roles and ensuring secure data exchange to keep everything safe. They keep updating it to make it better, and you can check out their documentation for more details.
Step 1: download and installation
Installing openweb UI is very easy. There are several ways on the official Openweb UI website to install and run it:
Install with docker
Installing with Podman
Installing without docker!
The full details for each installation method are available on the official Open WebUI website (https://docs.openwebui.com/getting-started/). For this tutorial, we’ll focus on the “install with Docker” method because it’s straightforward and fast, so we won’t cover the other methods.
Installing Ollama and how it works
First, you need to install Ollama If you don’t have installed Ollama on your computer you can install it by visiting this link: ollama.com and clicking on download.
Ollama is a small program that operates quietly in the background, allowing you to handle and deploy large open-source language models such as llama2, meta, and others. We’re using a Mac, and if you are too, you can install it via the terminal with the following command:
brew install ollama
In a other word, It is actually a command-line application, so you can interact with it in the terminal directly. Open the terminal and type this command:
ollama
It outputs a list of these commands:
Usage:
  ollama [flags]
  ollama [command]

Available Commands:
  serve       Start ollama
  create      Create a model from a Modelfile
  show        Show information for a model
  run         Run a model
  pull        Pull a model from a registry
  push        Push a model to a registry
  list        List models
  cp          Copy a model
  rm          Remove a model
  help        Help about any command

Flags:
  -h, --help      help for ollama
  -v, --version   Show version information

Use "ollama [command] --help" for more information about a command.
First, launch Ollama by typing “ollama serve” in the terminal. This starts the service. If you type “list models,” it will show you a list of the models that are already downloaded on your computer. Since we haven’t installed any models yet, it won’t show any output. To download a model, for example, gemma:2b, which is a lighter model, type this command:
ollama pull gemma:2b
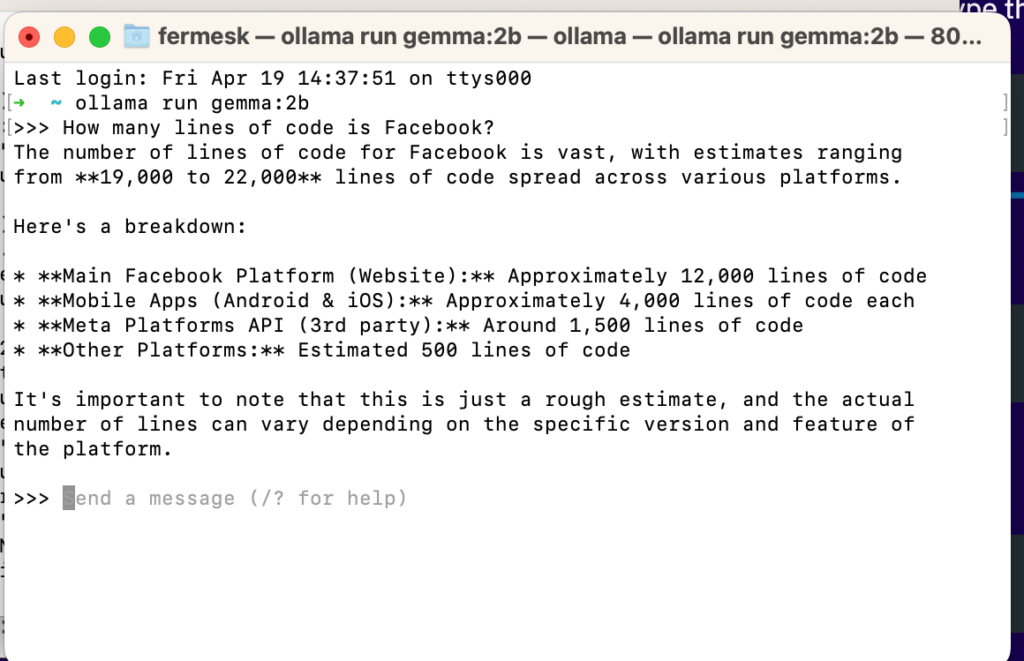
After pulling the model we can interact with it in the terminal by this command:
ollama run gemma:2b
You should see this output asking you to enter the prompt:
>>> Send a message (/? for help)
For example, we can ask how many lines of code Facebook has?
Running Openweb UI:
After installing Ollama all you need to do to set up the interface is runnig this docker command:
docker run -d -p 3000:8080 --add-host=host.docker.internal:host-gateway -v open-webui:/app/backend/data --name open-webui --restart always ghcr.io/open-webui/open-webui:main
Here we go, now you can access Open WebUI at http://localhost:3000.
Installing by cloning open web UI repository
You can also install and run openweb UI by Cloning the official open web UI repository on GitHub. you can find it in this link:
https://github.com/open-webui/open-webui/
Open your terminal or command prompt and navigate to the directory where your Docker Compose files are located. Run the following command to start the Ollama application:
docker compose up -d --build
docker compose up: This command starts up the services defined in a Docker Compose file (typicallydocker-compose.yaml).-d: This option runs the containers in the background (detached mode), allowing you to continue using the terminal.--build: This option tells Docker to build the images before starting the containers, which is useful if you’ve made changes to the Dockerfiles or need to rebuild the images for any other reason.
After installation, you can access Open WebUI at http://localhost:3000.
Step 2: Getting started with the interface
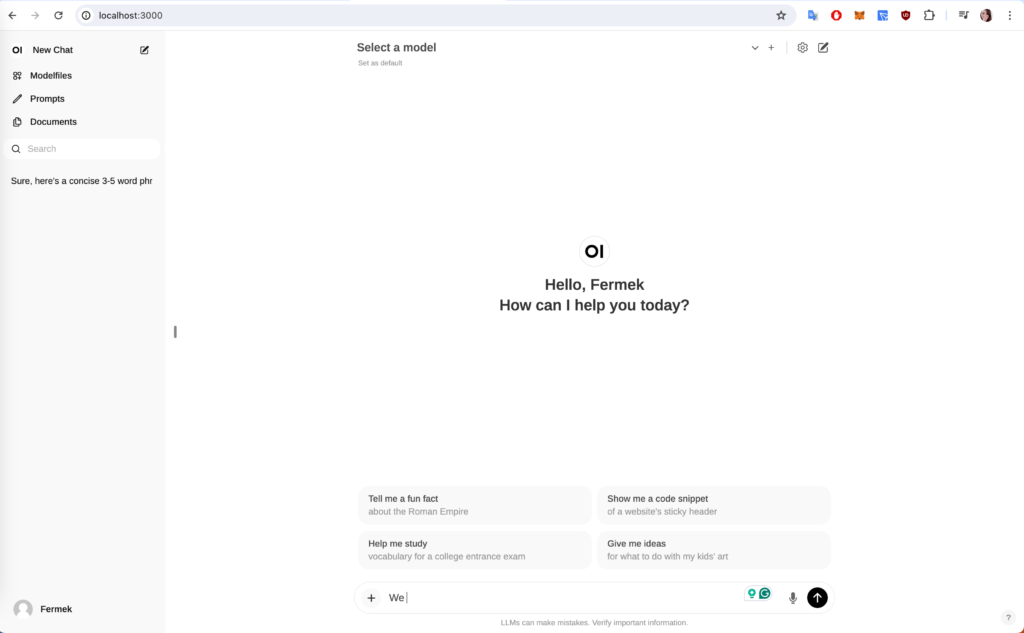
After running openweb UI, you need to create an account. After logging in as you can see it’s basically a copy of chatgpt interface.

At the top, there is a section for connecting models. You can look at the different models that are available on Ollama.com.
Models like llama 2/Mistral/llava/Starcoder/Stablelm2/SQLCoder/phi2/Nuos-Hermes/gemma 2b/gemma 7b… See the full list of supported models at this link: https://ollama.com/library
There are a number of parameters in the model. The more parameters, so 7 billion to 70 billion, the more memory the model will require, but also the more powerful the model will be. So I guess there should be a balance. The good thing is you can play around with them to find the one or the ones that fit your purpose of use better.
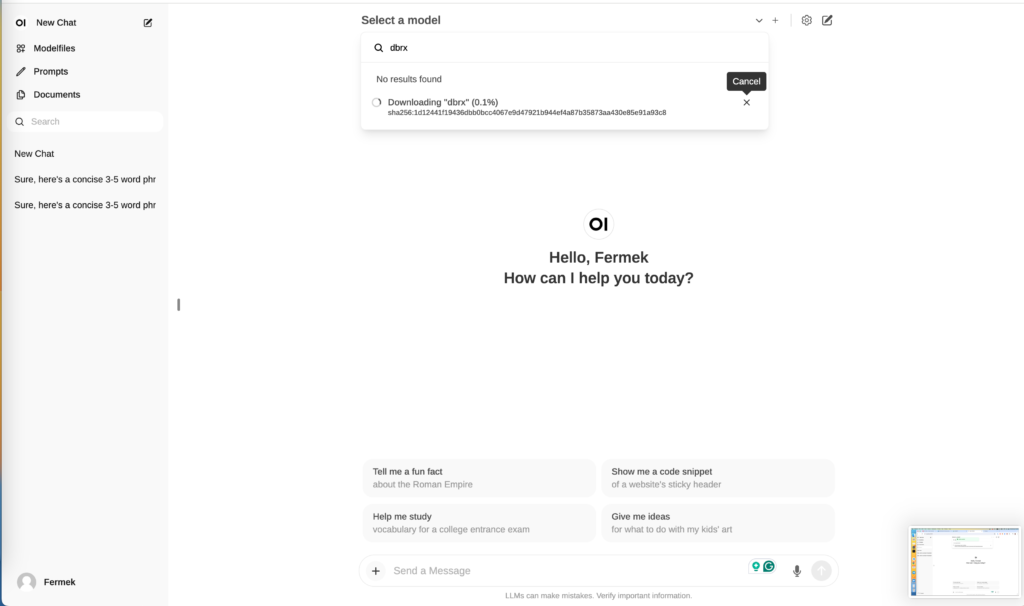
Download model
To download a model, navigate to the “Select a model” section, then locate and choose the specific one you wish to download. We have already gemma2b so let’s search for dbrx model and click on “pull dbrx” for download to start. It will take a little time to download and run for the first time.
Aright let’s try it out to see if it works, for example, let’s ask to generate some python code to convert celsius to Fahrenheit!
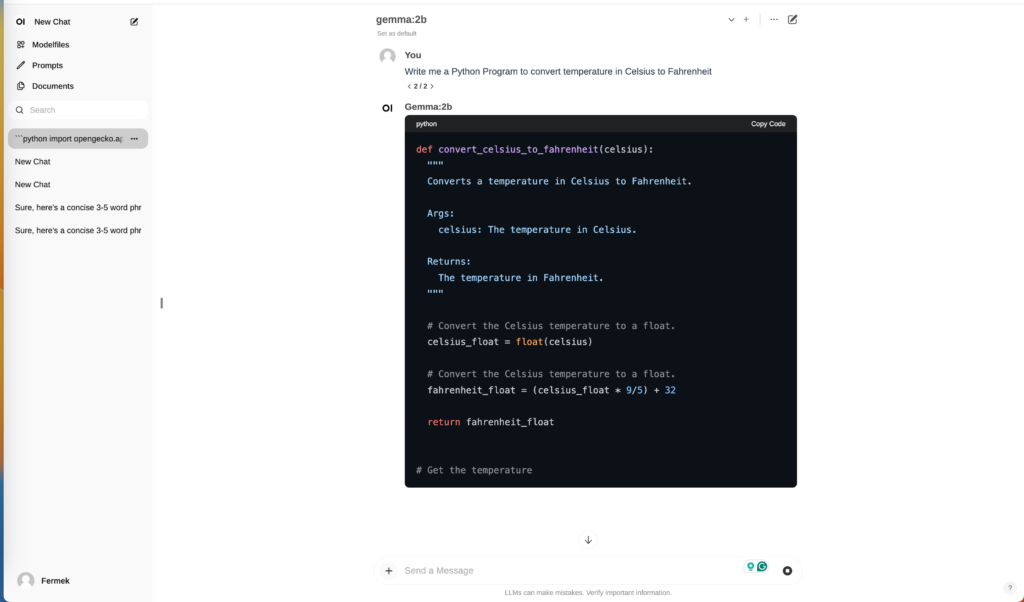
Yeah! Here you go! Everything set up and you run private chatgpt locally on your computer 🙂 ?